Component Basics
Components let us split the user interface into independent and reusable pieces, and think about each piece in isolation. Applications are usually organized into a tree of nested components:
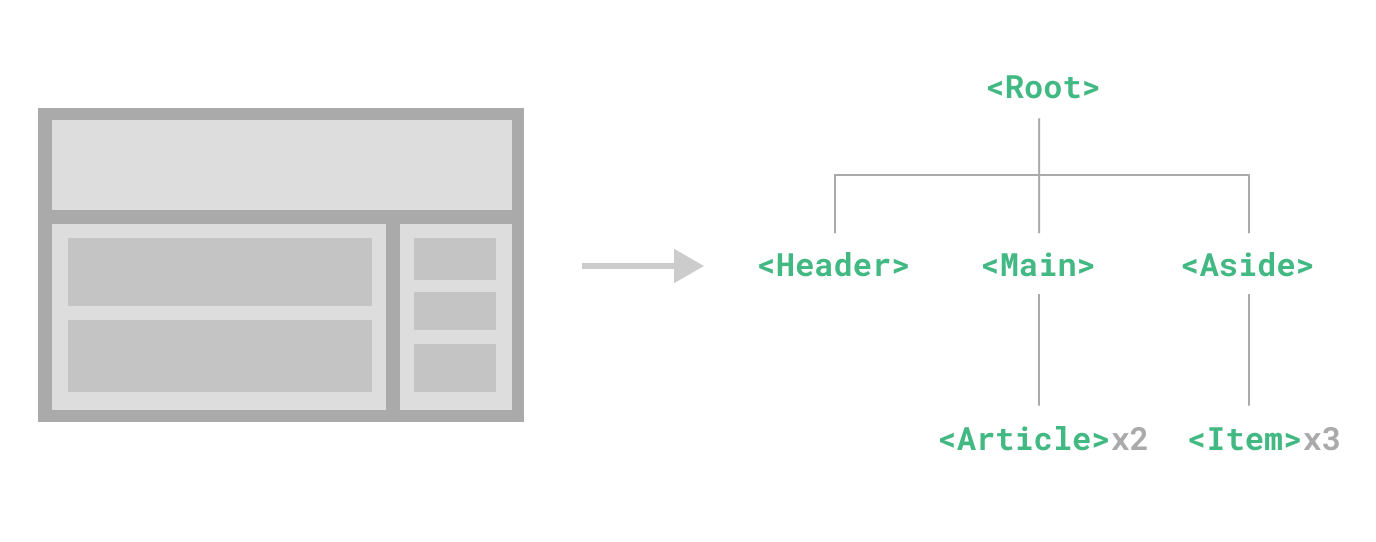
This is very similar to how we nest native HTML elements, but Vue implements its own component model that allows us to encapsulate custom content and logic in each component.
Vue Components were briefly covered in an earlier section. This page provides more details.
Listening to Events
Child components often need to communicate with their parent components. Vue handles this through a custom event system. The parent can choose to listen to any event on the child component instance with v-on or @, just as we would with a native DOM event.
The child component can emit an event on itself by calling the built-in $emit method and passing the event name. For example, a child component could include a button that emits an event named update-data when clicked:
<template>
  <button @click="$emit('update-data')">Update</button>
</template>
In the parent component, you can listen to this custom event using the @ syntax, just like you would with native HTML events like clicks. When the event is detected, the parent can then execute its own logic or update its data.
<template>
  <ChildComponent @update-data="handleUpdate" />
</template>
defineEmits
We can optionally declare emitted events using the defineEmits macro:
<script setup>
defineProps(['title'])
defineEmits(['enlarge-text'])
</script>
This documents all the events that a component emits and optionally validates them. It also allows Vue to avoid implicitly applying them as native listeners to the child component's root element.
Similar to defineProps, defineEmits is only usable in <script setup> and doesn't need to be imported. It returns an emit function that is equivalent to the $emit method. It can be used to emit events in the <script setup> section of a component, where $emit isn't directly accessible:
<script setup>
const emit = defineEmits(['enlarge-text'])

emit('enlarge-text')
</script>
If you are not using <script setup>, you can declare emitted events using the emits option. You can access the emit function as a property of the setup context (which is passed as the second argument to setup()):
export default {
  emits: ['enlarge-text'],
  setup(props, ctx) {
    ctx.emit('enlarge-text')
  }
}
Content Distribution with Slots
Sometimes you want to pass entire blocks of HTML or other components into a child component instead of just passing data with props. Vue makes this possible using the <slot> element.
Think of a slot as a placeholder inside your child component. Wherever you place the <slot> tag, Vue will inject the content provided by the parent.
Here is an example of a simple AlertBox component:
<template>
  <div class="alert-box">
    <strong>Alert:</strong>
    <slot />
  </div>
</template>
When you use this component, any content you place between the opening and closing tags will replace the <slot> element inside the child component.
<template>
  <AlertBox>
    Something went wrong. Please try again.
  </AlertBox>
</template>
Dynamic Components
There are times when you need to switch between multiple components dynamically, like when building a tabbed interface. Instead of using complex v-if chains, Vue provides the <component> element with a special is attribute.
You bind the is attribute to a variable that holds either the name string of a registered component or the actual imported component object.
<template>
  <component :is="currentTab"></component>
</template>
When the value of currentTab changes, Vue will automatically unmount the old component and render the new one in its place. You can force the inactive components to stay "alive" with the built-in <KeepAlive> component.
in-DOM Template Parsing Caveats
When you write Vue templates directly inside an HTML file rather than using Single File Components (.vue files), the browser parses the HTML before Vue can read it. This creates a few limitations you must follow.
First, HTML is case-insensitive. Browsers convert uppercase characters to lowercase. This means you must use kebab-case for component names and props instead of PascalCase or camelCase.
Second, browsers require explicit closing tags for most elements. While you can use <MyComponent/> in a .vue file, an in-DOM template requires an explicit closing tag like <my-component></my-component>.
Finally, HTML has strict rules about where certain tags can appear. For instance, an <li> tag must live inside a <ul> or <ol>. If you try to use a custom component like <my-list-item> directly inside a <ul>, the browser will flag it as invalid. To fix this, you can use the is attribute on a standard HTML element with the vue: prefix.
<ul>
  <li is="vue:my-list-item"></li>
</ul>
This tells Vue to render your custom component while keeping the browser's HTML parser satisfied.